Getting Started
Requirements
- macOS 15 or later
- Docker Desktop or OrbStack
- The Canopy app
Install and launch
- Install Docker and start it.
- Install and open Canopy.
- Complete first-run setup:
- Pick your preferred IDE and terminal.
- Choose whether Canopy starts automatically at login (enabled by default).
- Install the bundled
canopyCLI when prompted if you want terminal workflows.
- Make sure core services are running (nginx + PHP + databases). You can start them from the Services list.
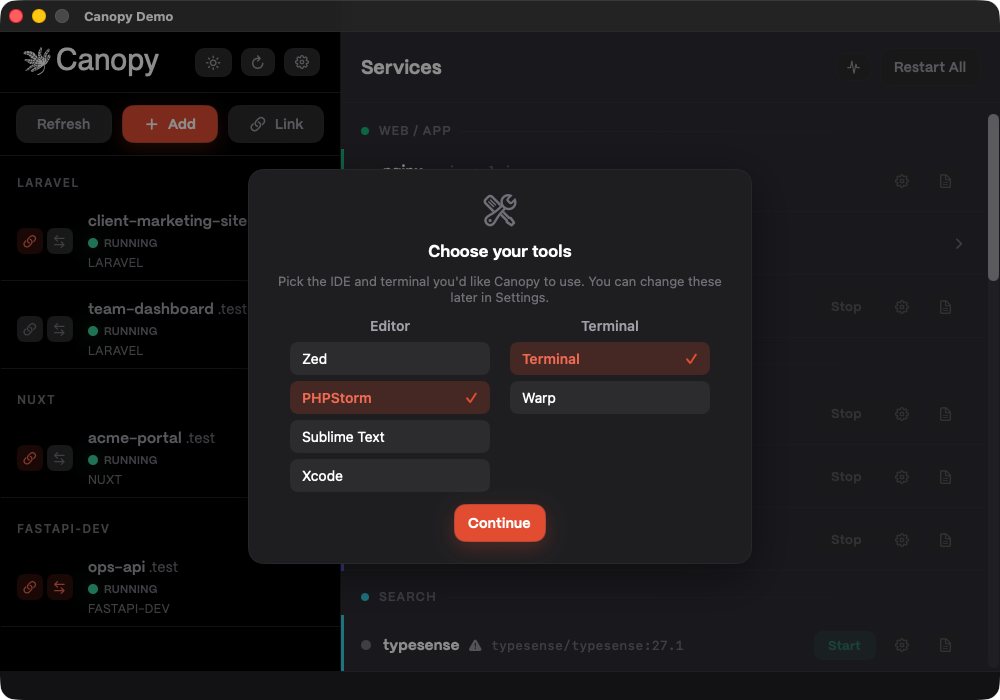
You can also install or update the CLI later from Settings → Canopy CLI. You can change the startup setting later from Settings → Tooling → Start Canopy automatically at login.
If macOS shows that startup requires approval, approve Canopy in System Settings → General → Login Items.
Create your first site
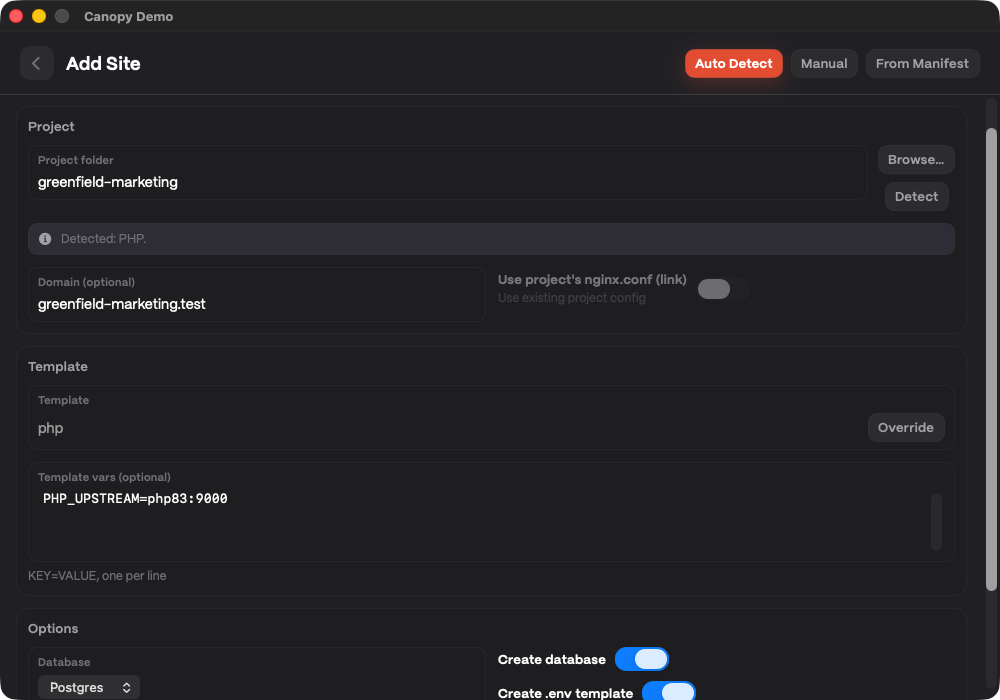
- Choose File → New Site (
Cmd+N). - Select your project folder (it can be anywhere on your machine).
- Pick a template (Laravel, PHP, static, and more).
- Choose a domain like
my-app.test. - Save. Canopy generates the config, links the folder into its internal workspace when needed, updates your hosts file, and reloads nginx.
You may be prompted to approve Canopy’s privileged helper the first time it needs to update
/etc/hosts.
Open your site
Visit http://my-app.test, or https://my-app.test if you turned on SSL. If SSL is enabled, you’ll be prompted once to trust the local certificate authority in Keychain.
If you already have a custom nginx config
Use File → Link Project (Shift+Cmd+N) to link an existing nginx.conf from your project root instead of generating one.
Next steps
- Learn the Core Concepts
- Manage sites with Creating & Managing Sites
- Explore shared services in Services & Ports