Creating & Managing Sites
Create a site
- File → New Site (
Cmd+N). - Choose your project folder (it can live anywhere).
- Pick a template and a domain.
- Save. Canopy writes the nginx config, links the folder internally when needed, adds a hosts entry, and reloads nginx.
Link an existing nginx config
If your project already has nginx.conf in the repo root:
- File → Link Project (
Shift+Cmd+N). - Select the project folder.
- Canopy links the config so edits in your repo are reflected immediately.
Edit and reload
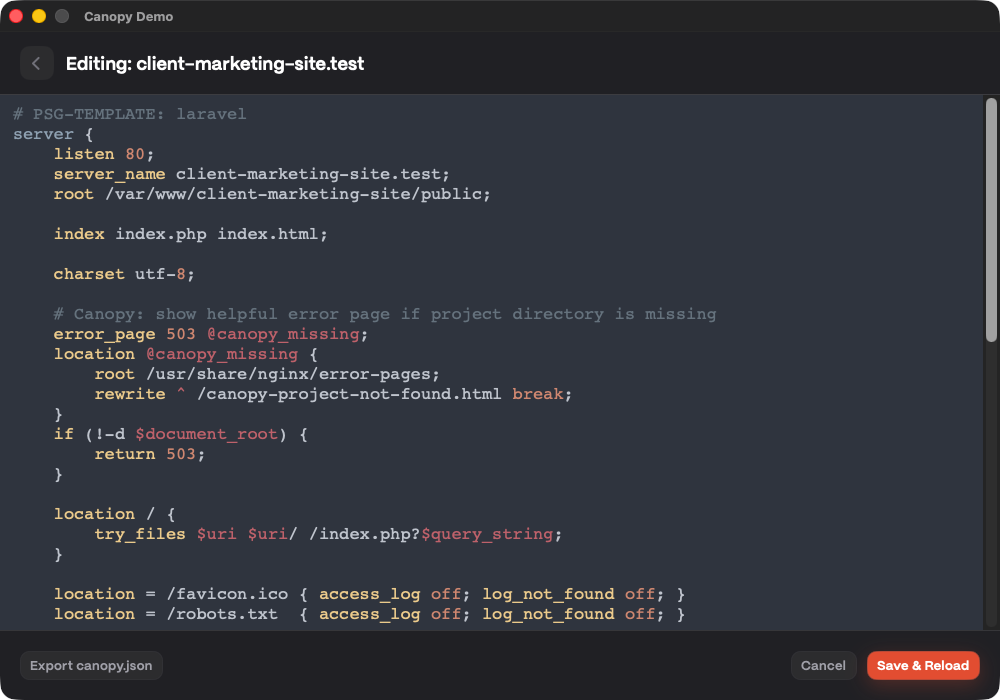
Open a site and use Save & Reload to apply changes to its nginx config.
Remove a site
Use the site’s remove action to delete its config and hosts entry.
Templates you can choose from
Built-in templates include:
laravelphpstaticspavite-devnode-devnode-ssrpython-devdjango-devfastapi-devflask-devproxy
If you need advanced routing or a non-standard setup, link your own nginx.conf instead.
Example generated nginx config (trimmed)
Canopy generates config from templates and fills in your domain, project path, and default PHP upstream.
server {
    listen 80;
    server_name my-app.test;                 # your local domain
    root /var/www/my-app/public;             # project path inside the container

    location / {
        try_files $uri $uri/ /index.php?$query_string; # front-controller fallback
    }

    location ~ \.php$ {
        fastcgi_pass php83:9000;
        include fastcgi_params;
    }
}
For advanced rules, use Link Project with your own nginx.conf.
Choose a PHP runtime
For Laravel and PHP sites, Canopy defaults to the php83 runtime. You can pick a different versioned runtime (php81–php85) when creating the site—in the app, or with the CLI via canopy add my-app app.test laravel --php-version 8.5—and switch it later. See Services & Ports for details.
Project onboarding (when available)
If Canopy detects your framework, it can guide you through setup steps like site creation, database setup, and .env preparation. You’ll see a step-by-step progress checklist while it runs.